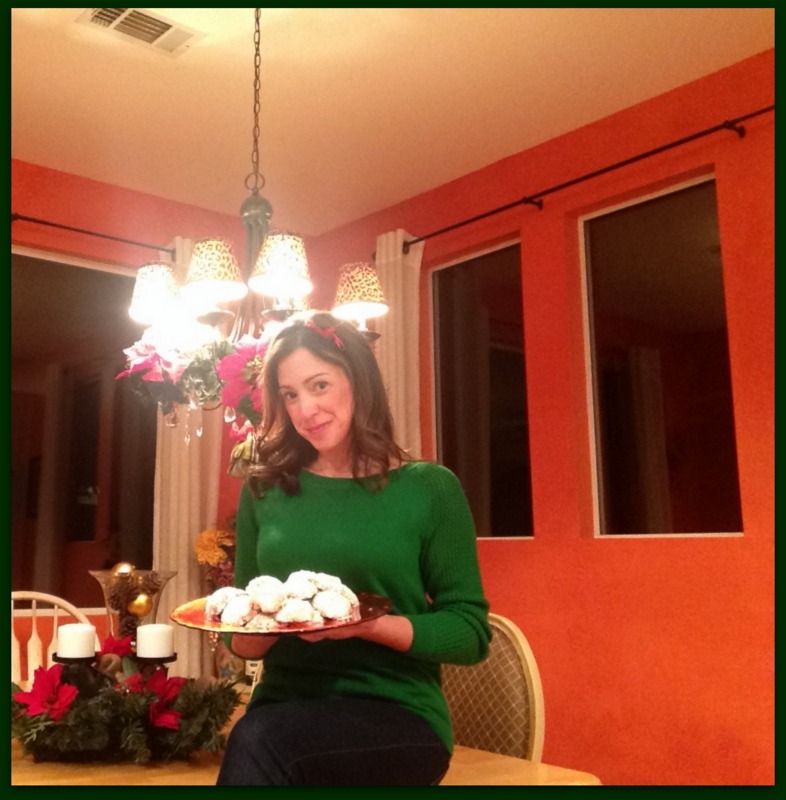
My lil chef, Isabella, made this dish extra magical with her cooking talent!
Ingredients,
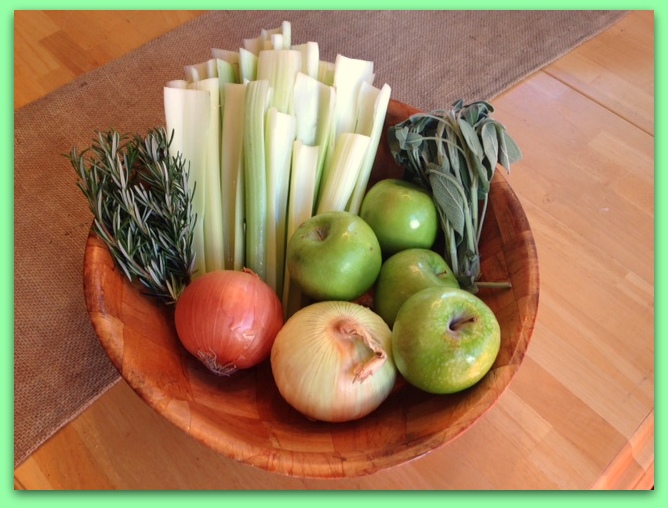
5 Leeks
2 tablespoons olive oil
6-8 slices of bacon, one package
3 cloves garlic, crushed or chopped
1 28-ounce can Muir Glen Organic, fire roasted crushed tomatoes
¼ cup parsley
2 packages garlic basil pasta, Trader Joe’s
Parmesan cheese, freshly grated
1 bunch fresh basil, chopped
Salt and pepper


Oh the smell of bacon…Now let’s get to cookin’!
Trim the tough tops and root ends of the leeks. Make sure to clean well as leeks often tend to have dirt on the roots. Thinly slice with a knife or use a food processor for the leeks, basil and parsley. Save some whole basil leaves for garnish.
In a large skillet heat the olive oil on medium heat. Coat the bottom of skillet. Slowly add the bacon and cook until crisp. Remove bacon from the pan and roughly chop in your food processor (Cuisinart, everything, is my favorite!) Add the leeks and garlic to the bacon. Cook for 6 or so minutes.


Add the tomatoes to the pan and mash using the back of a wooden spoon. Simmer for 10-15 minutes over low heat. Stir a few times to mix the flavors.
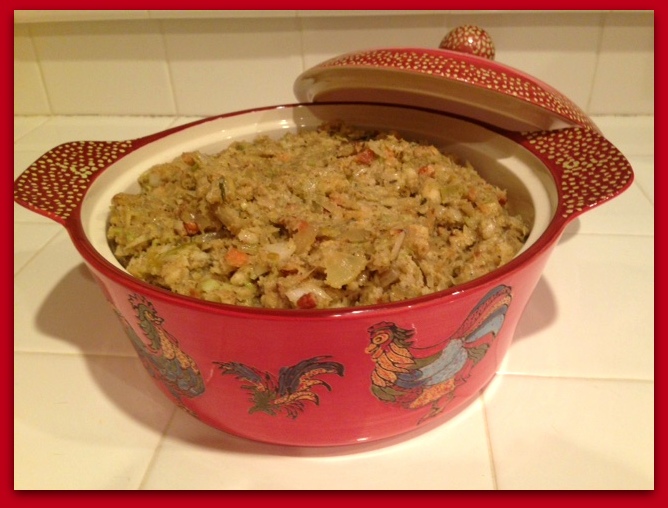
In a large pot, salt the water and bring to a boil. Cook pasta to al dente. Drain the pasta well and place back into pot. Slowly mix the tomato mixture in with the pasta. Season with salt and pepper, if desired. Garnish with parmesan cheese and basil.

The pasta pictured above, I purchased at Trader Joe’s. I love both flavors and use them often during the spring and summer months. The Muir Glen tomatoes can be found at any grocery store or online. Serve with a fresh green salad, steamed asparagus or any fresh vegetable your family enjoys.
Happy cooking friends and enjoy!
With love and peace in my heart,
G-xx